Welcome to Evolview
Introduction
Tree upload
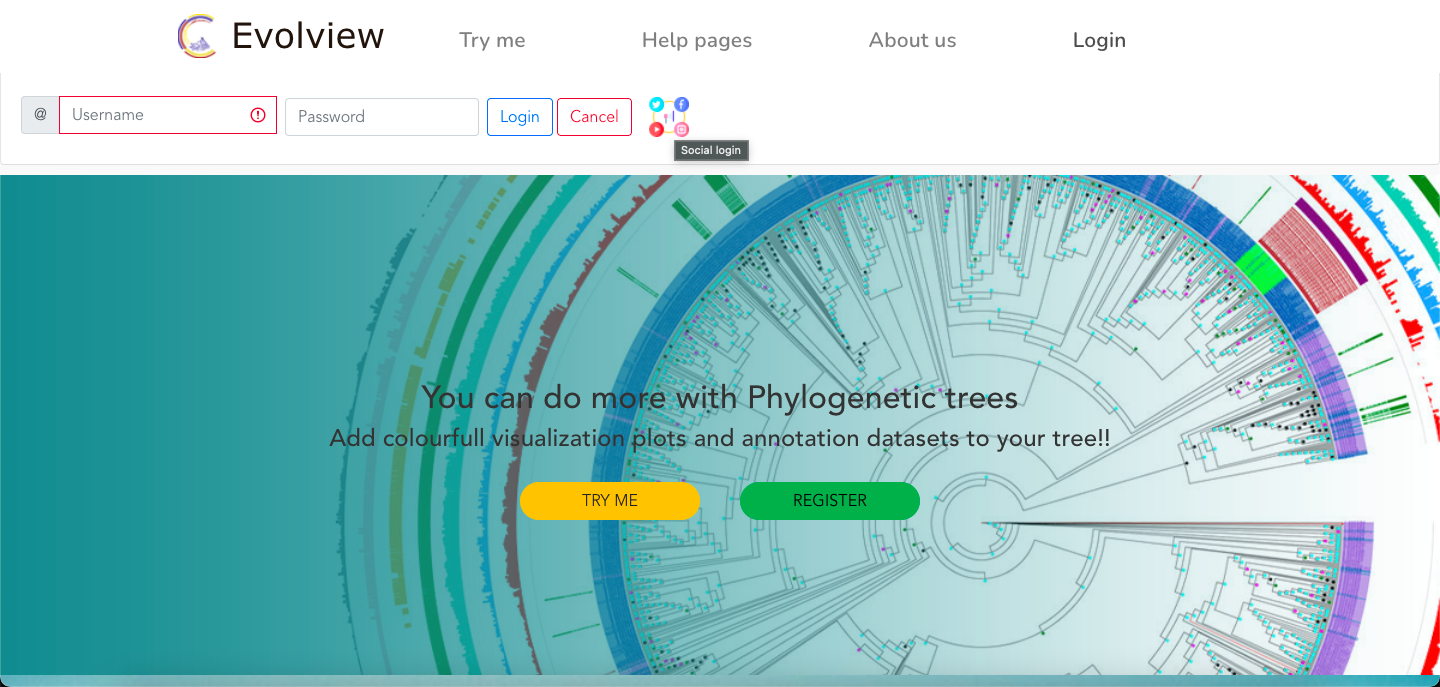
To start using the Evolview you just have to click the "Try me" button on the window or login if you have a user account with Evolview.
Evolview supports two kinds of tree upload operations
- Drag and drop tree file,
- Upload tree using upload button.
Both the upload option requires the user to provide with some details like project name ,tree name for easy management purposes.
Project: [new_project]- [Auto generated when using drag and drop option].Name: [new_tree]- provide tree file name [Auto detected when using drag and drop option].Type: [select tree format]- [Auto detected when using drag and drop option].
Supported tree Formats
Supported input formats
- newick/ phylip
- nhx
- nexus
- phyloXML (partial; embedded annotations will not be parsed by EvolView for now)
Visulization styles
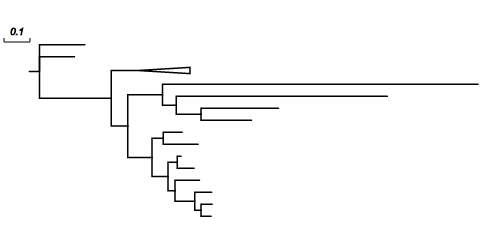
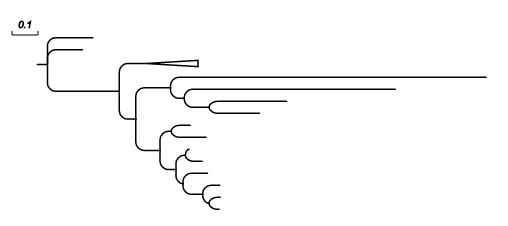
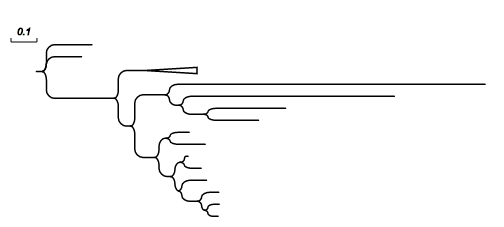
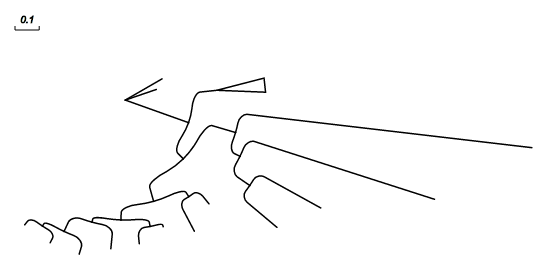
Evolview supports the visualisation of phylogenetic trees as phylograms and cladograms, each in either rectangular or circular layout.On top of this, Evolview supports two additional visualisation styles that will make trees stylish.
 |
 |
 |
 |
 |
User Access
EvolView is free for all users; all functionalities, except those require a connection to remote MySQL servers, are available to non-registered users. However there are many benefits for registered users (registration is free); with an account, you can:
- save your trees and datasets on our MySQL server,
- save your all customizations, including zoom in and out of your tree, the positions of your tree on the canvas and many others on user MySQL server,
- access your trees and datasets from any computer with internet connection, and many more ...
No registration
If you're not interested in creating a new account, just click the "Try me" Option:
Please note: You DON'T need an account to use EvolView, it's free for all users; all functionalities, except those require a connection to remote MySQL servers, are available to non-registered users.
Since Aug 2013, the data entered / uploaded by temporary users will also saved on our server; a unique token will be automatically assigned to current user and saved in browser cookie. During the period that this token is valid (usually a week), a temporary user can access the data as long as he / she does not clear browser history. If the temporary user creates a new account and becomes a registered user, he / she will be asked to transfer the data to this newly created account.
With user account
To sign up, click the "Sign up" button on the top of the "login" page:
Then fill the form in the login/register page and click "Create my account"; all fields with "*" are mandatory
If there is no errors occurred during the registration, a dialogbox will popup and inform the user that the new account is ready!!
What if the password I choose is the same for my Gmail or even my bank account?
Please note that for security and privacy reasons, we would never save the original password string you entered on our server; instead, only an encrypted version is kept (see below).
With Social login
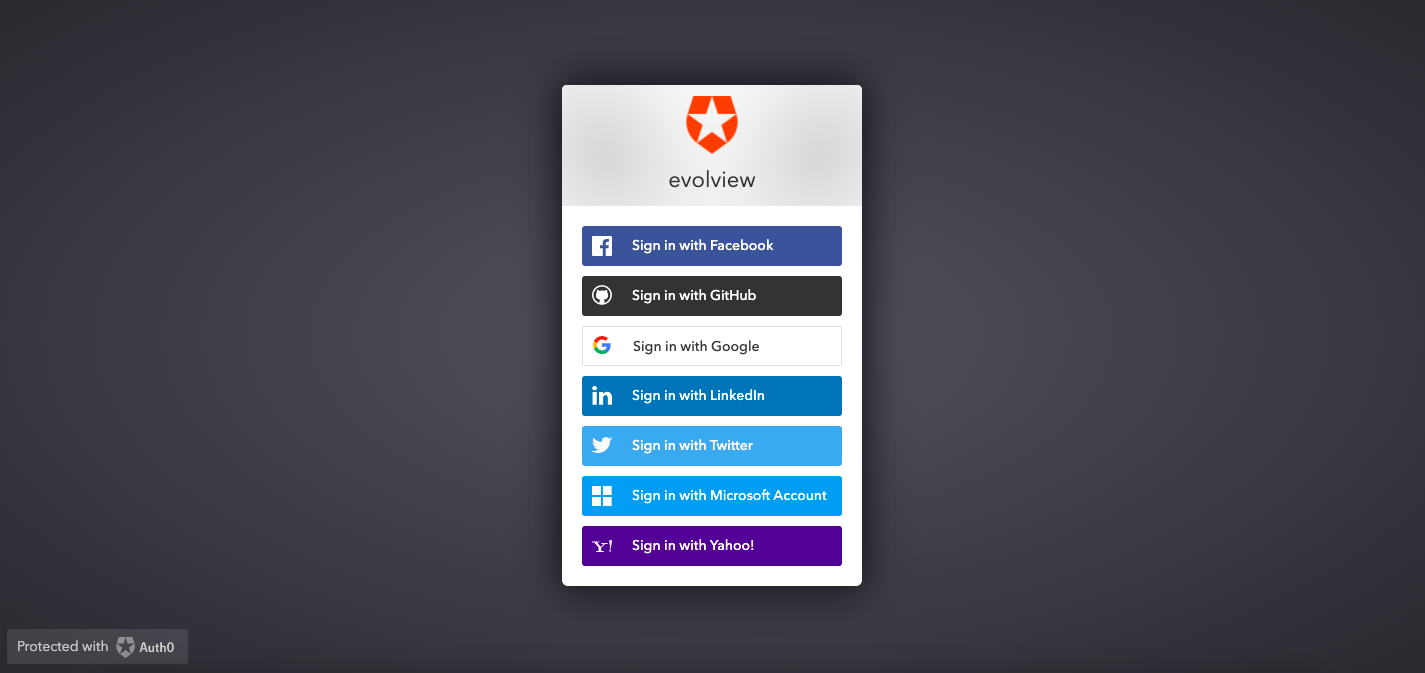
With OAuth, you can login with your existing accounts such as Gmail, Facebook, Windows Live, LinkedIn and many others. To do this, simply click one of the following icons in the Login page:
On clicking the social login option from login page, the user is redirected to the below looking page:
Click the "Windows live" icon, for example, you will be redirected to https://login.live.com . After signing in with your existing "Live" account.You will be redirected back to EvolView and login automatically. If you do this for the first time, EvolView will create a new account for you. Your existing data (if there is any) will be then loaded.
For more information about OAuth, an open standard for authorisation, see here
User interface
Overview
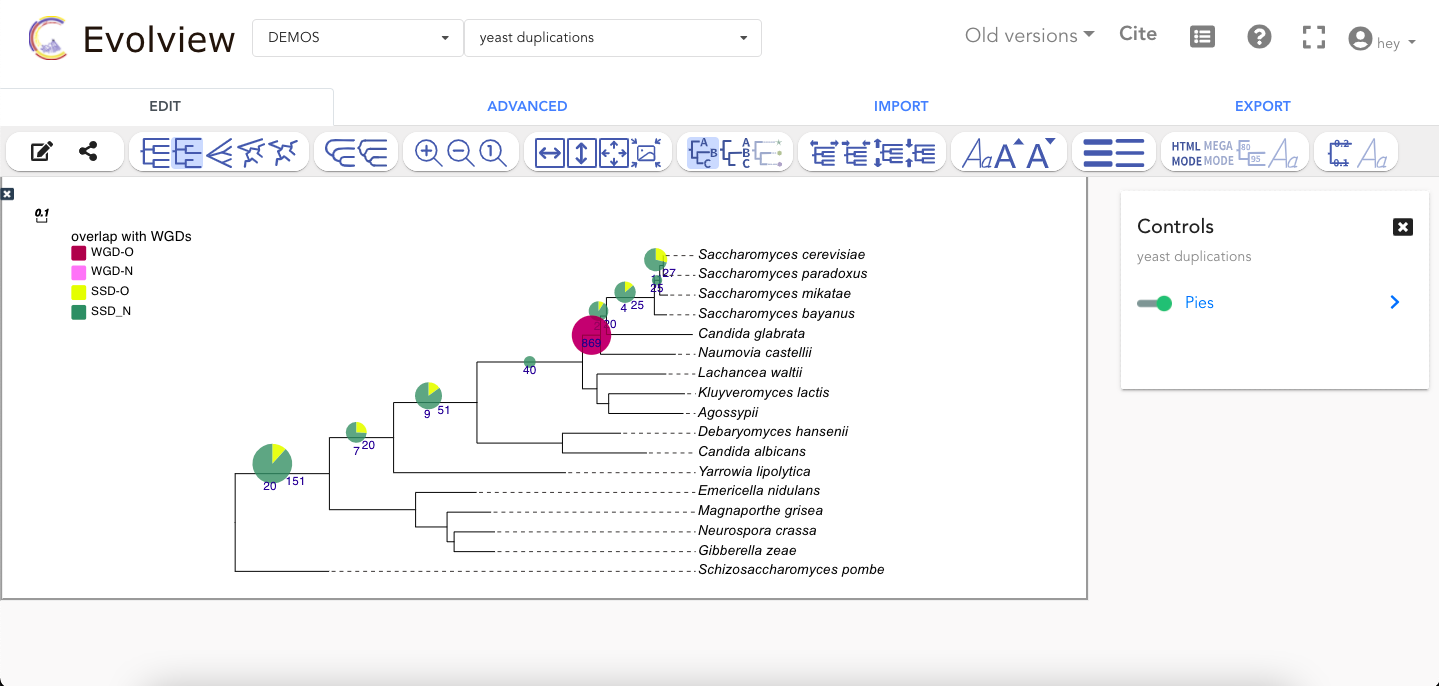
The user interface is divided into three parts:
- The top part consisting the Evolview logo,Project /tree navigation, quick controls like login/logout, citation and help page links.
- The middle part consisting of icon controls for the tree and dataset visualization.
- The bottem part with the display canvas
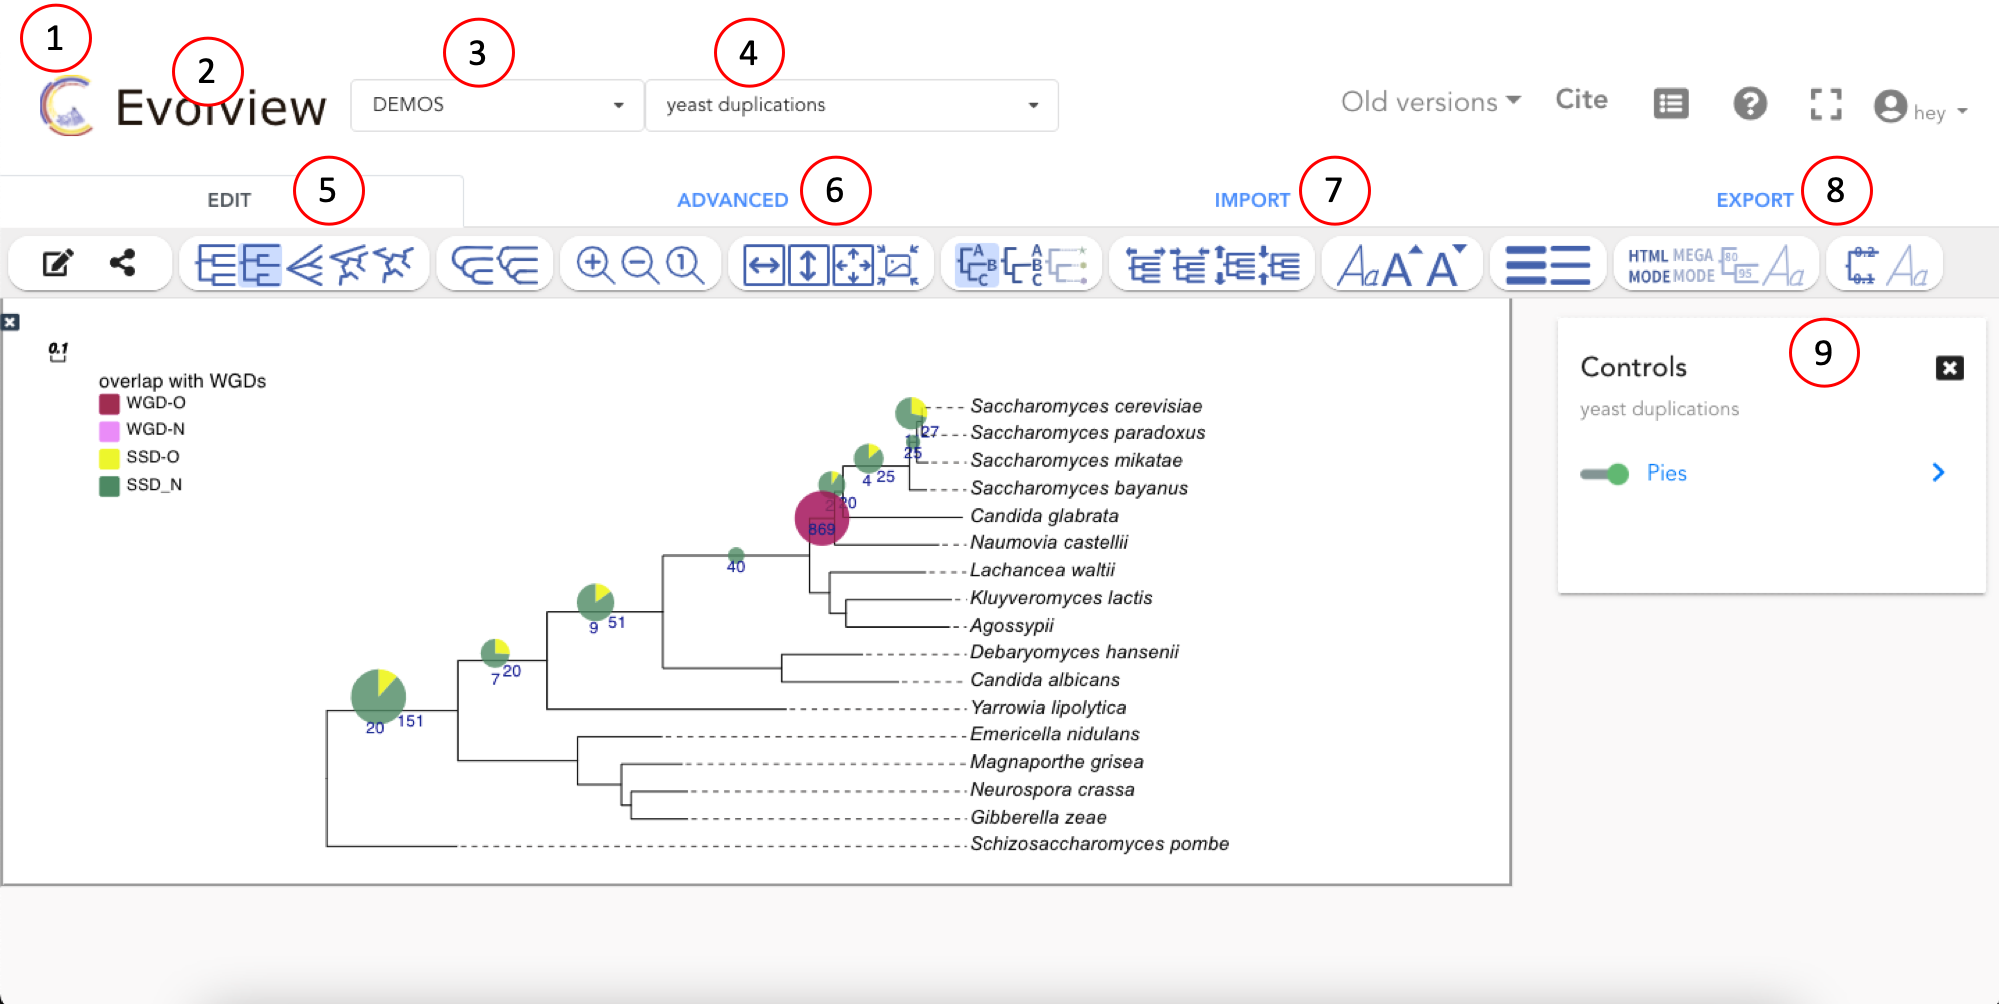
- Evolview logo: On click takes user to the canvas view of the webpage.
- Evolview : On click takes user to usage statistics page.
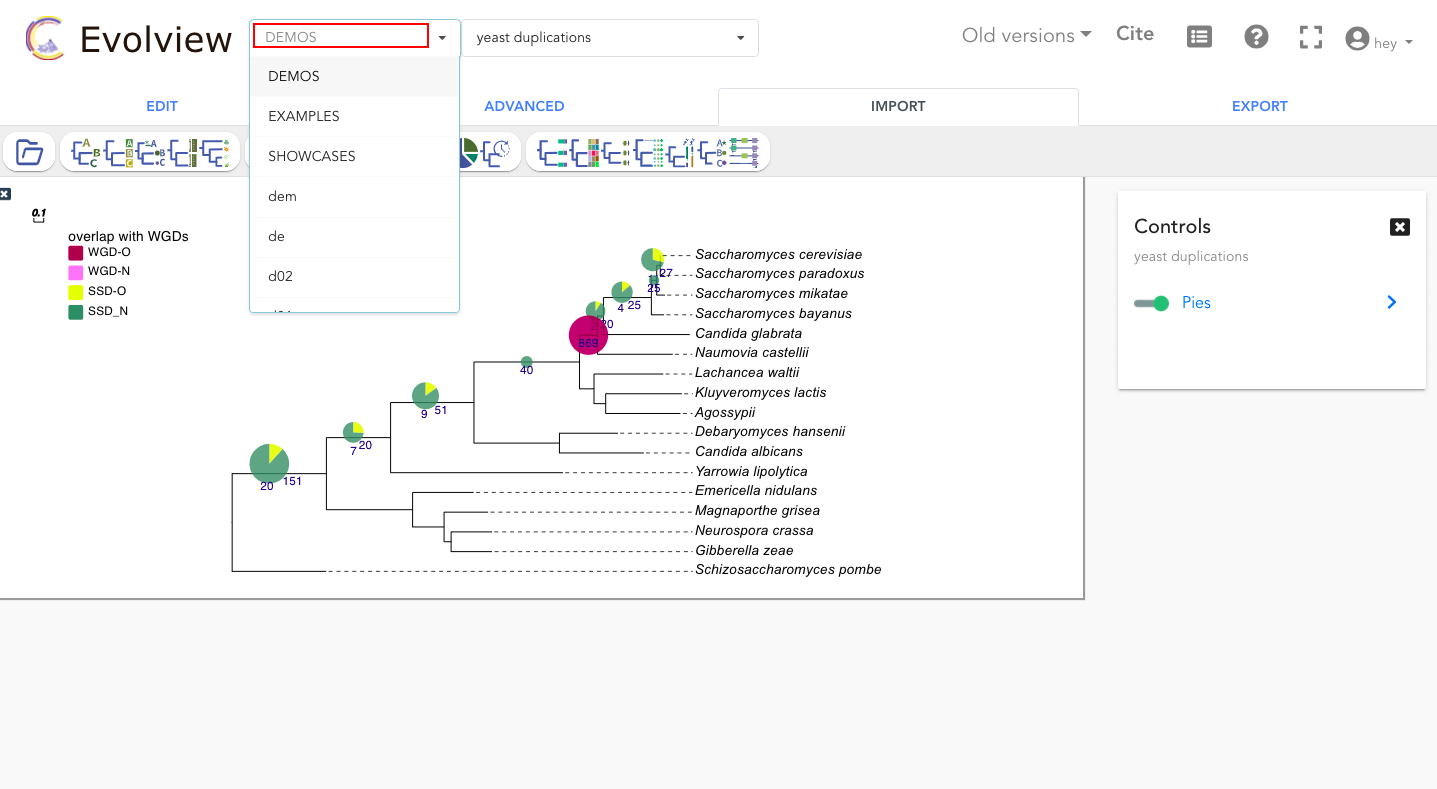
- Project navigation : Project dropdown list with inbuilt search option.
- Tree navigation : Tree dropdown list with inbuilt search option.
- Edit toolbar: Provides users for quick tree editing options. The edit toolbar has grouped the buttons into various groups based on button functions.
- Advanced toolbar: Provides users with some advanced tree edit actions like swapping tree rotation angles, show/hide control panel,delete tree.
- Import toolbar: Provides users with all file import related actions.
- Export toolbar: Provides users with image and data export options.
- Control panel: Dataset control panel.
Edit tree
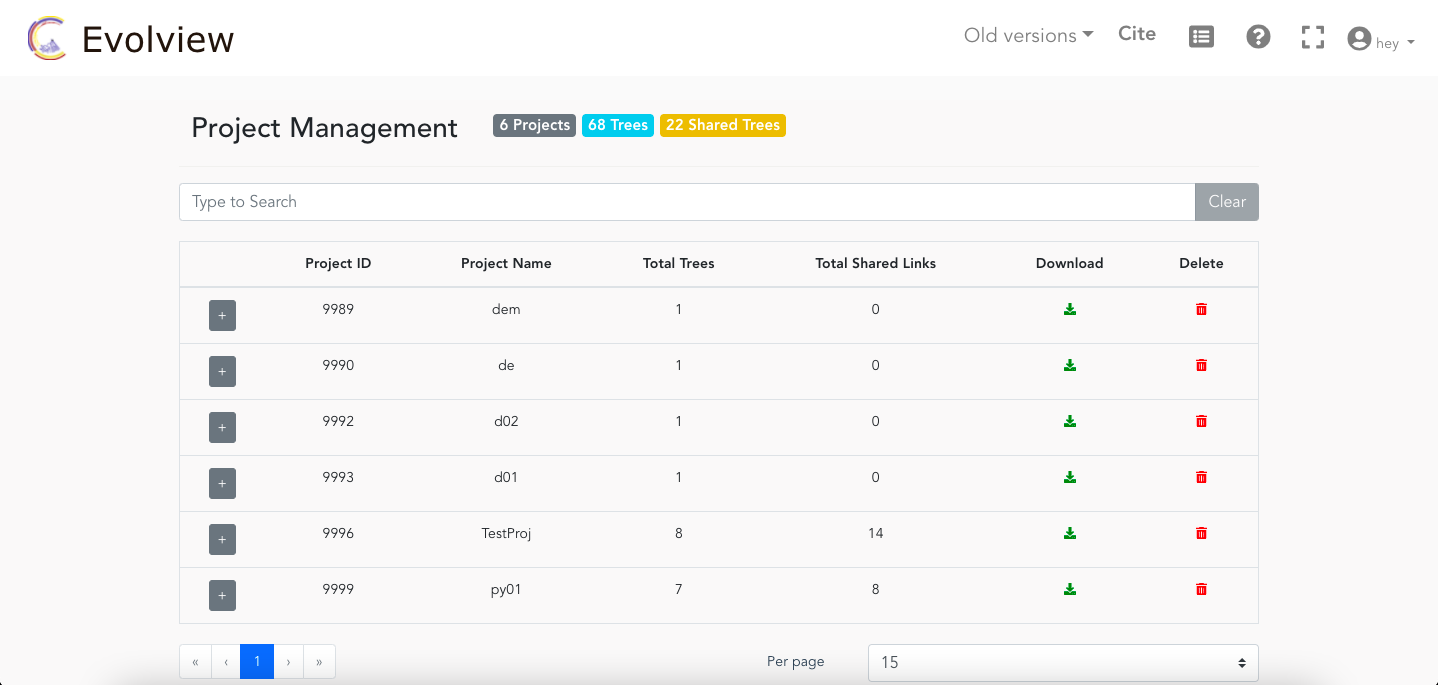
Project management
Project Management is part of Section 4 of the User interface. It provides control over your project data and show overall view of the sharing status. User can
- View all the project and trees,
- Download any project fully along with tree and annotation datasets,
- View the sharing status and control the sharing link information
To access the project management, select the projects icon from the right corner of the webpage as displayed.

The project management page displayed as below:
Search project,trees
From Evolview version 4, we support project and tree search directly from navigation area. This provides an quick access even while working on diffrent project or tree.
Annotations
The current version Evolview supports totally twenty annotation types, including one which was newly added. The most popular ones included leaf label background color, group label, color strips and color shapes, leaf colors and heatmap lots. In general, these annotation types can be categorized into the following subcategories according to their intended functions: leaf styling and annotation, branch styling and annotation and display of additional annotations.
Branch styling and annotations
This category includes eight annotation types, such as branch color, pie charts, bootstrap value style, timeline plot and collapse internal nodes. While branch color annotation type helps in modifying the branch color, the pie charts dataset type helps to insert pie chart plots on branches and internal nodes. Handling visual representation of very large tree visualization often comes with some difficulties, collapse internal nodes can be used to group the nodes, providing better perspective by grouping nodes.
Leaf styling and annotations
In total four annotation types fall into this category, including leaf color, leaf background color, leaf label decorations, group labels and leaf images. These annotation types focus on aiding users with leaf label based modifications like change leaf label color, change background or even add additional decorations between the leaf label and the branch. Many of these annotation types facilitate upload of multiple datasets to the same tree providing users, the support for their different visualizations.
Additional annotations
Evolview has been supporting options to combine and visualize various trees along with certain types of plots or charts. At present version 3 supports totally seven datasets, including bar plots, heatmap, protein domain plot, column plot, dot plot , color strips and shapes. These annotation types facilitate users with additional visualization options that can be integrated with phylogenetic trees, providing larger platform to visualize tree related information.
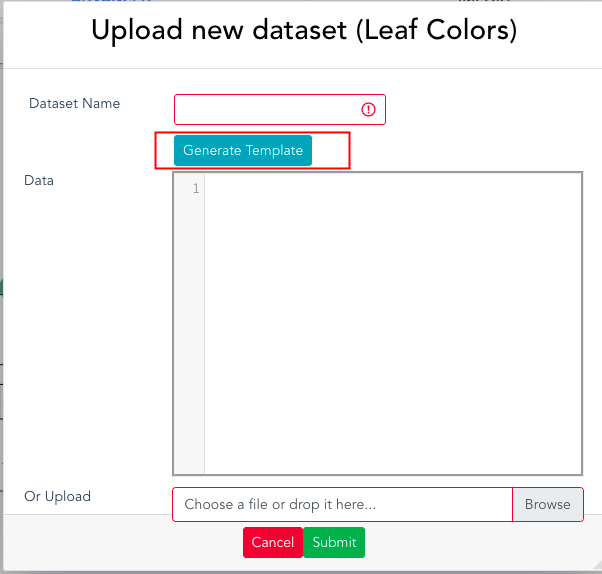
Auto generate annotations
From Evolview version 4, we provide template generation option for annotations datasets,which would help user to try any of visulization options. The annotations templates are generated for user selected tree for user selection annotation type. The user can edit,modify the annotation definations to visual styles of choice.
Legends
Legends add key information to the plots. They link the color/shape details to the data they represented. Legends can be added to any plot using the following lines:
!groups	key1,key2...
!colors	color1,color2...
!legendShapes	star,circle
!showLegends	1
| Supported Shapes |
|---|
| triangle |
| circle |
| rect |
| star |
| check |
Data export
Supported text output formats
- newick
- nhx
- nexus
- phyloXML
Supported graphic output formats
- svg (preferred)
- png
- jpeg / jpg
Share trees
Tree Sharing is a much anticipated feature that allows user to share their trees for others to view both within Evolview website and also on other websites too.
ShareShare within EvolviewEmbedEmbed Evolview tree on other websites